Friday, 30 September 2016

First Character Modeling in Maya 23/09/16


Today was my first attempt to create a full model of a character, right of the bat, I am going to say that this was so much harder than a rigid model because you have to model around what the character is going to do down the line. Such as rigging and animation.

This model was done through box animation (starting with a box and extruding out to build and grow), because of that we had to model through using the reference images in a front and side view to eventually create something similar to the images in a 3d spectrum. This is the first step to having the model resemble the reference images. In Maya we are trying to make a box like image of the reference images and then import it to Mudbox to smooth it out.

Unlike last time I was able to pick up on a few tools to help me, changing views and accessing certain tools with the space bar and I have learned the layout of Maya much better than before as well as short keys to certain functions such as W for movement, R for scale and E for rotate (to add to that holding down J while rotating will lock the object in a certain amount so having the object slightly slanted is not much of an issue. A tool that we had to use for this was the x-ray tool, this allowed you to see through the object you were using in the scene this proved imperative while trying to match the model with the reference images. Next, I have also learned how to use the edge loop tool which operates like the connect tool for edges in 3ds max but faster, it is required for the type of modelling because you have to make sure that the model has polygons in less than 4 sides and edges at the points of movement otherwise it will look choppy when it comes to the animation (and remember to save every twenty minutes). Finally I have to remember to set a project and create a project window before you start modeling, this allows better access to other assets for the overall project.

However there was a major issue I ran into, as shown by the image on the left, unlike 3ds max when you use the extrude tool an unlimited amount of times. What that means is that you can accidentally extrude twice at the same time on the same polygon or line. It alters what you wanted to do but without any indication you have done so. This a major problem that I have found considering it will take a while to get used too.

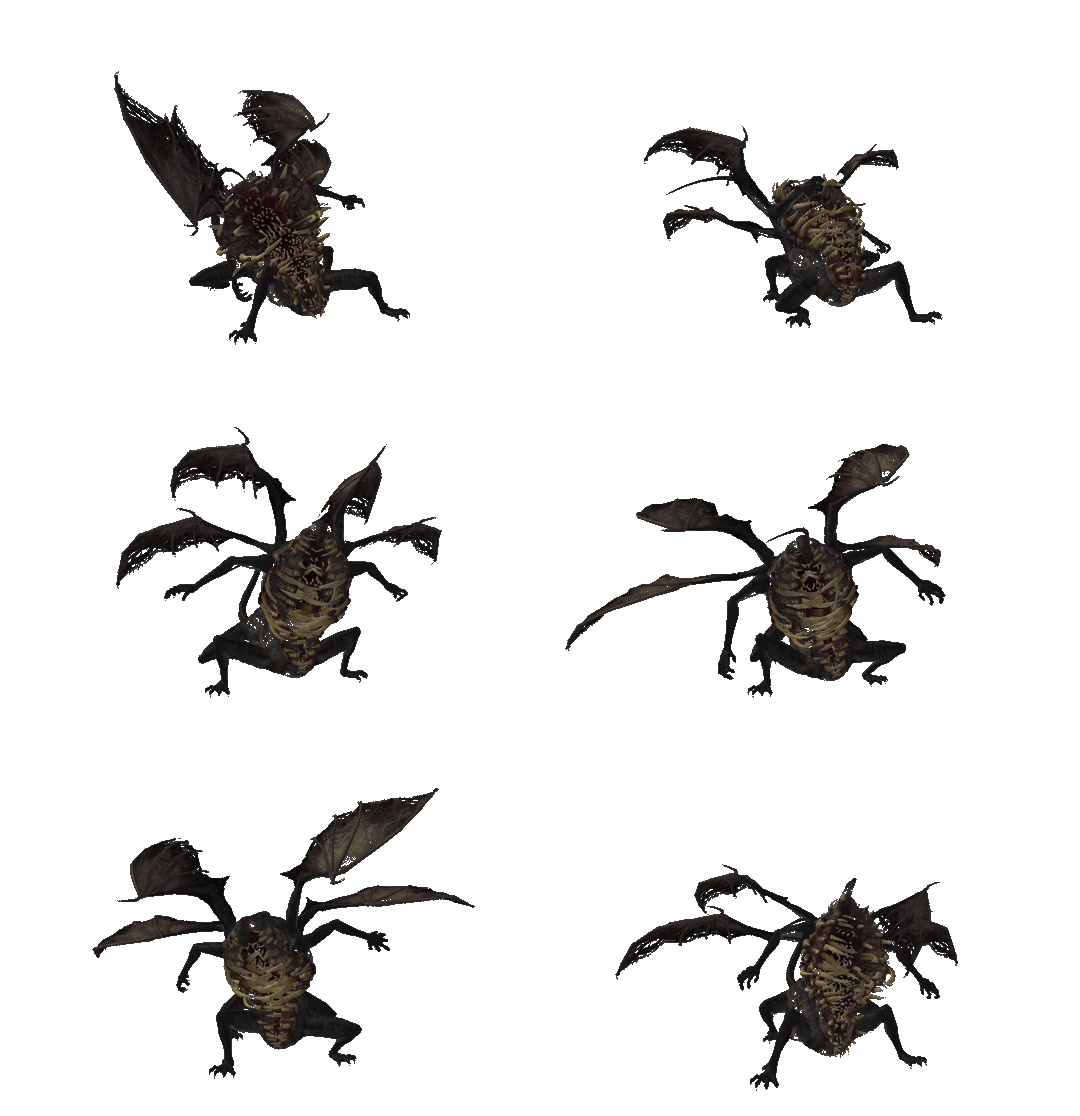
Credit to the images go to Josh Addessi, they are not my original work. 

Monday, 26 September 2016

Using Maya Modelling 14/09/16


 This was my first time trying to properly use 3d modelling in Maya. It did not turn out too well. Even though I have a much better grasp on what in was doing by the end of the session.

This was in contrast to using 3ds max for modelling. The main concern was because of that, the programs have (mostly) the same tools, the issue was that they accessible in completely different ways. It was trying to find the tools considering that the interface is completely different even though the main screens are the same.

I was able to identify a few tools that were familiar (such as extrude and connect), however there were also some new ones such as poke and familiar tools such as cap with different names. The images on the right were a result of tools such as Geo mirror (which is why half of the spheres are green), also what is left of my project because Maya has a habit of shutting down without you wanting it to. So a note for the future is save the work before a major change (rendering) and saving in 20 minute intervals regardless.

I also had a major issue for a while because of a tool known as "soft select", it is activated as a short key by B. The problem was I accidentally hit it, but had no indication that I did so. It alters any editing of the models by pulling the mesh by the vertices for a certain amount depending on the pulling.

I know that this is the development stage of using the program and I will get better but the question is 'Will I get better at Maya than 3ds Max?'.

Monday, 12 September 2016

My goals further into my career and how to achieve them 09/09/16

Image result for animated 3d gifs
This is an example of what I want to be capable of in a few years. 
I want to be a lead 3D animator in the future. To get there as fast as possible I mainly have to focus on using the programs available to me, that include 3ds max to create to models to animate and Maya to animate them in scenes. Considering that we are going to create a major project by the end of the year with a group of people I need to prove myself capable before then.

How am I going to accomplish this? Aside from the obvious (practice) I am going to have keep creating new animations and models to find better methods and extra tools and features to get the final product to get a better result. I am still debating whether or not to go to university or take an apprenticeship, there are benefits to both. Some of the studios that I could work for in the future would be double negative, Jellyfish, Blue Bolt and Method Studios.

What do I need to learn to improve? This is quite subjective but a start for me right now would be learning all of the relevant tools in 3ds max, Maya and other programs such as Photoshop for textures. Even if I am not bothered with having a career like in concept art I still need some knowledge in extra fields (the T model applies, having knowledge in many things but having one or two skills that you do really well). 

Thursday, 8 September 2016

Starting the Second Year 08/09/16

The first session back was more or less, a recap of what we have learned in terms of modelling over the past year. We were tasked with creating a model within a few hours to show what we can do. The model we had to create was a prop with a genre and style.

What I choose to create was a chair within a horror genre and a cartoon style. What you see on the is what I was able to create within 2 hours in class.

The process for this was starting with the main body of the chair, then add the extras such as the legs afterwards. The start was the seat then extended to the back board the extended the seat to have room for the arms. I then cut a hole in the extension and capped it off.

The next part was smoothing out the edges and edit the design of the backboard. Some of the edges that were smoothed out were the arms and the extension in the seat to add a cushion. Because of the genre and style I thought it would be suitable to base the additions and designs of children's horror movies and Halloween decorations. I based the shapes of the bat wings on a image of real bat wings for the design. The legs were originally simple for the chair but then I thought I could make them more over the top by basing the design of of cow and horse legs.

Some issues I found were that when you are smoothing (chamfer) the edges it can create a ridiculous amount of extra polygons along the end of the edges, and that the legs in these images are rather rigid. Finally you can see in the image that the backboard has some vertex over lining near the middle because unless all vertices are equal or all polygons no more than four faces it becomes awkward to use and see.

The second set of images is the second version of the model. As you can see the model has had extra additions and legs have been remade to make them less rigid.

Other ideas I had were creating a wooden face for the top of the chair and having a red cape for the front or back. The reasons for not doing them are both that they were both very tedious to do and I was not sure on how to fully create models that have a lot of details in the polygons and in the textures.

The other additions were from a desire to have more elements from the style. The new elements were the latches in the arms, the web in the icon and from before the legs and bat wings. Just like with the wings the web was created by creating a plane over a image of a spider web.


Some extra improvements were the editing of the outline of the chair body and the rework of the chair legs to make them appear more stable by adding extra segments add not having the segments too stretched out, to make it seem like an error. Plus the legs don't look like they are made out of jelly as much. The other change is that the whole chair is now accurately polygraphed without any overlaps that cause major visual clash. The only other improves I can make to the model without adding texture would be the unfinished ideas.

I will post again on this when the UV mapping is done and the textures are finished and I will continue to improve the final model.