Monday, 10 October 2016

Finishing Maya Model 05/10/16

 This session was less of improving the model I had, but rather fixing its issues. The model hardly appears different compared to last week the difference now is that all of the major issues have been resolved, such as any gaps in the model, extra polygons inside the model and unneeded vertices. This was needed because the next step to improving the model is to import the model in Mudbox. The issue is that there were many issues within the model that were hard to find. To help with this there is a tool to use to identify any issues in the model. It identifies anything that can be an issue for the model.

Even when I tried to export the model into Mudbox it showed the errors, but not the model (for some unknown reason). The way I got the model into Mudbox is by reversing all of the polygons (so it is inside out in Maya) then imported it to Mudbox.

After all of the tedious fixing and getting into Mudbox it is quite a different program because it models in a very different way. It can reduce the model I made in seconds into the image on the right.

This program works very differently than Maya and 3ds Max. It acts as more of a sculpting tool than a modelling program. Something immediately that is a problem though is that the scale of the models in Maya creates the model incredibly small which makes precision a pain to do because the tools on go down to a certain limit. So sometimes I can't make precise tool adjustments in the mesh because it is to small with no way to enlarge it, from my experience.

Friday, 30 September 2016

First Character Modeling in Maya 23/09/16


Today was my first attempt to create a full model of a character, right of the bat, I am going to say that this was so much harder than a rigid model because you have to model around what the character is going to do down the line. Such as rigging and animation.

This model was done through box animation (starting with a box and extruding out to build and grow), because of that we had to model through using the reference images in a front and side view to eventually create something similar to the images in a 3d spectrum. This is the first step to having the model resemble the reference images. In Maya we are trying to make a box like image of the reference images and then import it to Mudbox to smooth it out.

Unlike last time I was able to pick up on a few tools to help me, changing views and accessing certain tools with the space bar and I have learned the layout of Maya much better than before as well as short keys to certain functions such as W for movement, R for scale and E for rotate (to add to that holding down J while rotating will lock the object in a certain amount so having the object slightly slanted is not much of an issue. A tool that we had to use for this was the x-ray tool, this allowed you to see through the object you were using in the scene this proved imperative while trying to match the model with the reference images. Next, I have also learned how to use the edge loop tool which operates like the connect tool for edges in 3ds max but faster, it is required for the type of modelling because you have to make sure that the model has polygons in less than 4 sides and edges at the points of movement otherwise it will look choppy when it comes to the animation (and remember to save every twenty minutes). Finally I have to remember to set a project and create a project window before you start modeling, this allows better access to other assets for the overall project.

However there was a major issue I ran into, as shown by the image on the left, unlike 3ds max when you use the extrude tool an unlimited amount of times. What that means is that you can accidentally extrude twice at the same time on the same polygon or line. It alters what you wanted to do but without any indication you have done so. This a major problem that I have found considering it will take a while to get used too.

Credit to the images go to Josh Addessi, they are not my original work. 

Monday, 26 September 2016

Using Maya Modelling 14/09/16


 This was my first time trying to properly use 3d modelling in Maya. It did not turn out too well. Even though I have a much better grasp on what in was doing by the end of the session.

This was in contrast to using 3ds max for modelling. The main concern was because of that, the programs have (mostly) the same tools, the issue was that they accessible in completely different ways. It was trying to find the tools considering that the interface is completely different even though the main screens are the same.

I was able to identify a few tools that were familiar (such as extrude and connect), however there were also some new ones such as poke and familiar tools such as cap with different names. The images on the right were a result of tools such as Geo mirror (which is why half of the spheres are green), also what is left of my project because Maya has a habit of shutting down without you wanting it to. So a note for the future is save the work before a major change (rendering) and saving in 20 minute intervals regardless.

I also had a major issue for a while because of a tool known as "soft select", it is activated as a short key by B. The problem was I accidentally hit it, but had no indication that I did so. It alters any editing of the models by pulling the mesh by the vertices for a certain amount depending on the pulling.

I know that this is the development stage of using the program and I will get better but the question is 'Will I get better at Maya than 3ds Max?'.

Monday, 12 September 2016

My goals further into my career and how to achieve them 09/09/16

Image result for animated 3d gifs
This is an example of what I want to be capable of in a few years. 
I want to be a lead 3D animator in the future. To get there as fast as possible I mainly have to focus on using the programs available to me, that include 3ds max to create to models to animate and Maya to animate them in scenes. Considering that we are going to create a major project by the end of the year with a group of people I need to prove myself capable before then.

How am I going to accomplish this? Aside from the obvious (practice) I am going to have keep creating new animations and models to find better methods and extra tools and features to get the final product to get a better result. I am still debating whether or not to go to university or take an apprenticeship, there are benefits to both. Some of the studios that I could work for in the future would be double negative, Jellyfish, Blue Bolt and Method Studios.

What do I need to learn to improve? This is quite subjective but a start for me right now would be learning all of the relevant tools in 3ds max, Maya and other programs such as Photoshop for textures. Even if I am not bothered with having a career like in concept art I still need some knowledge in extra fields (the T model applies, having knowledge in many things but having one or two skills that you do really well). 

Thursday, 8 September 2016

Starting the Second Year 08/09/16

The first session back was more or less, a recap of what we have learned in terms of modelling over the past year. We were tasked with creating a model within a few hours to show what we can do. The model we had to create was a prop with a genre and style.

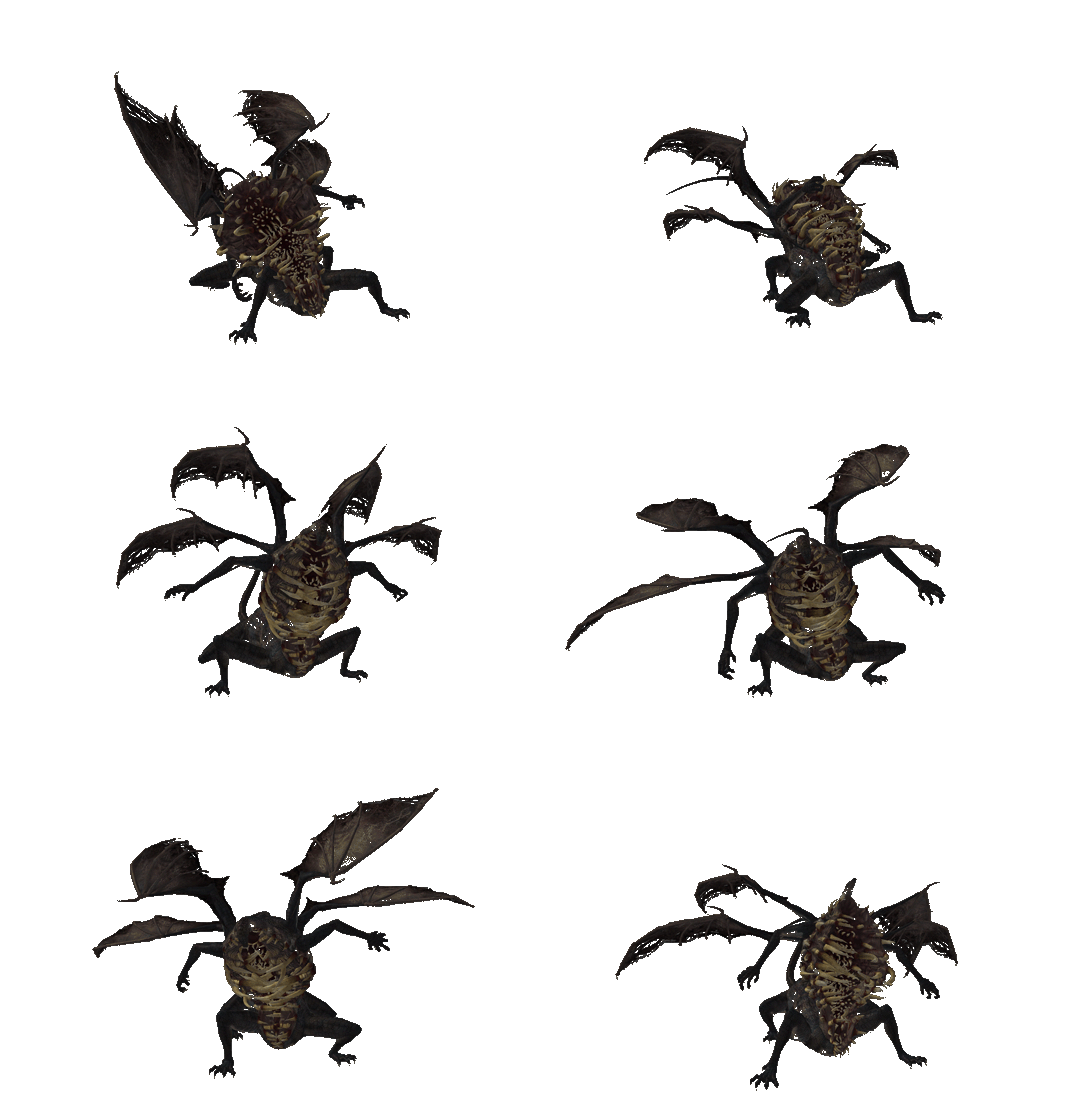
What I choose to create was a chair within a horror genre and a cartoon style. What you see on the is what I was able to create within 2 hours in class.

The process for this was starting with the main body of the chair, then add the extras such as the legs afterwards. The start was the seat then extended to the back board the extended the seat to have room for the arms. I then cut a hole in the extension and capped it off.

The next part was smoothing out the edges and edit the design of the backboard. Some of the edges that were smoothed out were the arms and the extension in the seat to add a cushion. Because of the genre and style I thought it would be suitable to base the additions and designs of children's horror movies and Halloween decorations. I based the shapes of the bat wings on a image of real bat wings for the design. The legs were originally simple for the chair but then I thought I could make them more over the top by basing the design of of cow and horse legs.

Some issues I found were that when you are smoothing (chamfer) the edges it can create a ridiculous amount of extra polygons along the end of the edges, and that the legs in these images are rather rigid. Finally you can see in the image that the backboard has some vertex over lining near the middle because unless all vertices are equal or all polygons no more than four faces it becomes awkward to use and see.

The second set of images is the second version of the model. As you can see the model has had extra additions and legs have been remade to make them less rigid.

Other ideas I had were creating a wooden face for the top of the chair and having a red cape for the front or back. The reasons for not doing them are both that they were both very tedious to do and I was not sure on how to fully create models that have a lot of details in the polygons and in the textures.

The other additions were from a desire to have more elements from the style. The new elements were the latches in the arms, the web in the icon and from before the legs and bat wings. Just like with the wings the web was created by creating a plane over a image of a spider web.


Some extra improvements were the editing of the outline of the chair body and the rework of the chair legs to make them appear more stable by adding extra segments add not having the segments too stretched out, to make it seem like an error. Plus the legs don't look like they are made out of jelly as much. The other change is that the whole chair is now accurately polygraphed without any overlaps that cause major visual clash. The only other improves I can make to the model without adding texture would be the unfinished ideas.

I will post again on this when the UV mapping is done and the textures are finished and I will continue to improve the final model.

Saturday, 11 June 2016

Next Gen 05/06/16 Contract Types and Differences

In the Gaming, Animation and VFX industry people work in different ways. One of these are through contracts. When someone is employed for a certain purpose for a certain amount of time and gets the payment at the end date.

Freelancing: This is a self-employing contract for a client. These contracts however are not given out to the same person by the same client. A freelancer can usually have multiple contracts at the same time. These contracts mean that you are responsible for your own taxes and national insurance, but the client is still responsible for your health and safety. They mainly work at home or off the organisations property. They are usually paid when the contract is for-filled so that they do not cut any corners for the client. Freelancing contracts also have clauses to make sure that the client does not use them for free labour by pulling the plug on the operation before paying the freelancer.

Permanent: This the most common contract to be used in the current industry. This contract is when an employer highers you, until they no longer require your services, this can last for as long as both sides of the contract agree with the terms. This can be seen as a trade contract, were the employer gives the employee wages and the employee works full-time working for the employer. This also has the benefit of the employer giving the employee over-time (such as raises and connections in the industry). The employee is entitled to certain arrangements such as sick leave pay, holiday leave and set pay rates and pay day's. At the end of your legal working years, you are obligated to a pension. You are payed at certain times for the amount of hours you put into your job.

Internships: These contract agreements are about having some form of training. It is optional if the contract has payment or not, it depends on what the employer and what the  wants. This contract is for a set period of time.The people who normally take these contracts are students or rookies in the industry who want an understanding of how certain aspects of the jobs that they want work. A main difference between internships and employment is that internships focus on training for a role rather than doing the role itself. These can be both long or short term (both having benefits for the employer, either having free labour or showing off how good the the quality of their business is to others).  There is also a unique contract for last-year students, known as research internships it is for certain research in one company.

Voluntary: This is work that someone volunteered for without any type of payment, the only "reward" that the volunteer will get was the experience on their personal CV. These can be considered not contracts, because they not considered actually employed. In turn they are also not give the same rights. The rights are not required to be followed during the agreement. Usually, these people will do work for charity corporations. Since this might not be a lawful agreement both parties can pull out of the agreement whenever it suits them. In the Games, Animation and VFX industry and example of voluntary work could be "Game Jams".

Contractual: This is a self-employing contract for clients. These contracts are given out by recruitment agencies for fixed-term time sections. A contracting contract is usually only done one at a time. These contracts mean that you are responsible for your own taxes and national insurance, but the client is still responsible for your health and safety. These contracts can be both about recruiting or about providing labour to get to the end goal of the client. These contracts also specialise in reality rather than digital media.

Part-Time: This is a contract that has less hours for work than a full-time contract, unlike a full-time worker who does 15-30 hours per week. The advantages of part-time is that it can balance out with your real-life, it also could matter if you trying to re-arranging your work patterns. Some disadvantages however, are that you are looked down upon by full-time workers. In this contract you need to show the, National Insurance Contributions, Statuary Sick Pay, have employer's liability insurance and have to provide a working and safe environment. The employee will be paid the same amount of full-time contracts (ratio to the amount of hours that they work).

Full-Time: This is a contract that has a set amount of hours that the client wants you to do. This contract allows some leniency in the time constraints, such as sick leaves, and health insurance. You will be payed more than part-time contracts but are required to have more regular hours. In this contract you need to show the, National Insurance Contributions, Statuary Sick Pay, have employer's liability insurance and have to provide a working and safe environment. These contracts are paid over certain mount of time until the final amount is filled.

Monday, 6 June 2016

Next Gen 01/06/16 Legal, Regulatory and Ethical Issues in Games, Animation and VFX

Cyber security was created to defend the worlds computers, networks, data and programs from digital attacks and unauthorized access. Multiple parties are required to keep the security up to date from new forms of cyber-attacks. Some of them are Network security, Information Security, Application Security and End-user education. This system helps stop these attacks but needs to keep evolving to protect the internet, an example is of DEDOS attacks.

Censorship is the suppression of speech and online communication that can be considered sensitive, offensive, harmful or politically correct. It can be carried out by the government as well as some private pressure groups. However it is mostly considered unconstitutional and foolish by the groups that enforce it.

Child protection on the internet can be interpreted as any form of protection that is for children for finding any explicit, violent and offensive content. Features such as a child lock on your computer and parental control software. Websites for the UK Safer Internet Centre have encouraged to protect and limit their kids on what they could go on the internet, teaching how to use systems such as monitors, locks timed access and content filters.

Age ratings (BBFC and PEGI) are the rating systems that are used for age resisting certain groups because of certain types of content. Some of this content can include: violence, gambling, sexually explicit, elements of horror and foul language. Both rating systems work together to show the buyer what type of game/DVD/Cartridge/Blu-Ray they are getting. This is applicable in the UK and Europe, in other locations however they use different systems (such as the ESRB in America). 

Environmental policies are statements by organisations for their intentions and principles in relation to the overall performance. This provides a framework for action and for the setting of its environmental objectives and targets. They are used to show a organisations commitment to improving its environmental performance, to communicate the motivation of the organisation, its beliefs and views and finally provide a framework for guiding organisations environmental improvements efforts.

Pixel gypsy is a website that was created with the purpose of helping the average internet user who has popular programs such as Photoshop and Microsoft Word, who need help understanding the program and what not to do should they have a virus in the system. This can also expand into other pieces of hardware, such as scanners and cameras. Other functions can include setting up a DVD of your photos, making a scrapbook and creating stickers.

Government subsidies can be seen as benefits given by the governments. These are usually in the form of money or a tax reduction. The subsidy is usually given to remove some type burden to an individual and are usually considered to be in the interest of the public. Politics can play a large part in the offering of a subsidy.

Fixed bid contracts are set contracts for the purpose of a set amount of work more a fixed amount of money. If you are more efficient at doing the work, you can make more money per hour of work done and less if you make mistakes or take to long.